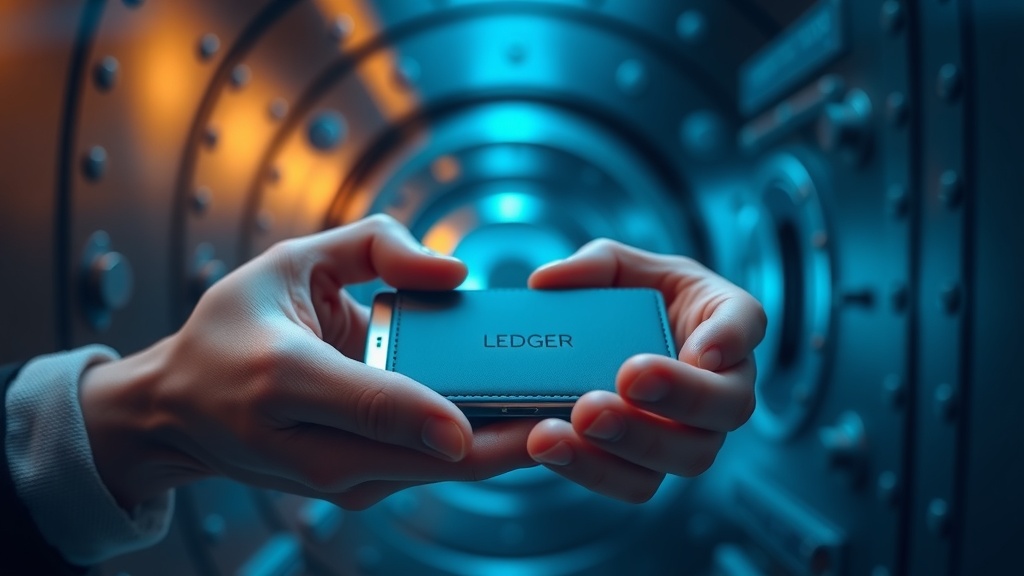
If you’re moving enough crypto off an exchange that losing it would genuinely hurt, a hardware wallet stops being a nerd toy and starts becoming a sensible risk-control tool. Ledger is one of the most common starting points. The setup isn’t hard, but there are a few places beginners make preventable mistakes — mostly around the recovery phrase, fake setup flows, and rushing the first transfer.
Here’s the exact Ledger setup process I think is worth following if you want to do it once and do it right.
TLDR
- Your 24-word recovery phrase is the wallet. Protect it like cash, not like a password reset email
- Verify addresses on the Ledger device screen, not just your laptop screen, before every transfer
- Send a small test transaction first, then move the larger balance after you confirm everything works
Before You Even Open the Box
The safest hardware wallet setup starts before the device turns on.
Buy from Ledger directly or from an authorized reseller, not from some random marketplace listing with a suspicious discount. Hardware wallets are security devices. Saving $18 on the purchase isn’t worth introducing supply-chain risk.
When the package arrives, check for obvious tampering. Modern Ledger devices also verify authenticity during setup through Ledger Live, so the main thing you’re looking for is anything that seems pre-opened, altered, or suspicious.
If the device arrives with a pre-written recovery phrase card already filled out, that’s an immediate red flag. Stop. A legitimate Ledger setup generates the seed phrase on the device itself during setup. Nobody should ever pre-generate it for you.
Step 1: Power On the Device and Choose “Set Up as New”
When you first turn on a Ledger device, you’ll get the option to restore from an existing recovery phrase or set up as a new device.
If this is your first Ledger, choose Set up as new device.
Ledger devices use two-button navigation. It feels clunky for about three minutes and then you get used to it. That’s part of the point. Hardware wallets are deliberately slower and more deliberate than software wallets because speed is not the priority — reducing attack surface is.
Step 2: Create a PIN
You’ll be prompted to create a PIN code. This protects the physical device if someone gets their hands on it.
Use a PIN you can remember but that isn’t trivial. Avoid 1111, 1234, birthdays, addresses, or anything you use elsewhere.
The PIN does not replace the recovery phrase. Think of it like the lock on the front door. The recovery phrase is the deed to the house.
If you enter the PIN incorrectly too many times, the device resets. That’s fine — as long as you still have the recovery phrase. Without that phrase, a reset becomes a disaster instead of a nuisance.
Step 3: Write Down the 24-Word Recovery Phrase
This is the most important step in the entire setup.
The Ledger device will generate a 24-word recovery phrase, one word at a time, on the device screen. Write it down by hand on the recovery sheets that come with the wallet, or on another offline medium you trust.
Do not:
- take a photo of it
- store it in Notes
- email it to yourself
- paste it into a password manager without thinking hard about the tradeoff
- type it into any website or app
I know that sounds paranoid. In crypto, it’s just table stakes.
If someone gets those 24 words, they can restore your wallet on another device and empty it. No support desk can reverse it. No bank can freeze it. No fraud department can save you.
This is the point where many people realize self-custody is real. It’s not more difficult than exchange custody because the buttons are harder. It’s different because the responsibility is actually yours.
Step 4: Confirm the Recovery Phrase on the Device
Ledger will ask you to confirm the recovery phrase by selecting the correct words in sequence.
This step matters more than people think. It’s not just a formality. It’s your chance to make sure you wrote everything correctly and in the right order.
Do not rush this part.
If you wrote word 11 incorrectly or mixed up the order of words 17 and 18, your wallet might still work fine right now — but the day you lose the device and need to recover, you’ll discover the problem at exactly the worst moment.
Step 5: Install Ledger Live
Once the device itself is initialized, install Ledger Live from Ledger’s official website. Do not download it from a search ad, a third-party site, or a random app listing you haven’t verified.
Ledger Live is the desktop/mobile application that:
- checks device authenticity
- manages firmware updates
- installs blockchain apps on the device
- lets you add accounts and receive addresses
- helps you send and receive supported assets
During setup, Ledger Live will usually verify that the device is genuine. This is one of the important anti-tampering checks in the process.
Step 6: Update Firmware If Needed
If Ledger Live prompts a firmware update, do it there — and only there.
Firmware updates through the official app are normal. Random prompts via email, browser popups, or websites telling you to update your wallet are not.
Again, this sounds repetitive, but crypto security is mostly repetition. The scams work because people get comfortable and stop asking the same obvious questions.
Step 7: Install the Apps for the Coins You Actually Hold
A Ledger device doesn’t automatically support every chain until you install the relevant apps.
If you hold Bitcoin, install the Bitcoin app.
If you hold Ethereum, install Ethereum.
If you hold Solana, install Solana.
You don’t need to turn the device into a cluttered multi-chain toy on day one. Start with the assets you actually own and understand.
For many beginners, that’s just BTC and ETH.
Step 8: Add an Account in Ledger Live
In Ledger Live, choose Add account and select the asset you want to receive. Ledger Live will communicate with the device, derive your addresses, and create the account view.
This is the point where your wallet becomes usable for actual transfers.
Ledger Live will show you a receiving address, but don’t just copy it and trust your computer screen. Malware exists that can replace copied crypto addresses in your clipboard.
Which leads to the most important operational habit in hardware wallet use.
Step 9: Verify the Address on the Device Screen
When Ledger Live shows the receive address, your Ledger device will also display the address on its own screen.
Check them. Carefully.
The device screen is the trusted environment. Your laptop is not.
If the address on the computer and the address on the device match, you’re good. If they don’t, stop immediately. Something is wrong.
This one habit does a huge amount of work for you. A lot of the security value of a hardware wallet is precisely that the final approval happens on the device, outside the general-purpose computer environment where malware lives.
Step 10: Send a Small Test Transaction First
This is the step impatient people skip and later wish they hadn’t.
Before you move your full exchange balance, send a small test amount.
If you’re moving Bitcoin from Coinbase to Ledger, send maybe $20 or $50 worth first. Wait for it to arrive. Verify the asset, network, and address all behaved the way you expected.
Then send the larger amount.
Yes, it means paying one extra network fee. That’s fine. Think of it as insurance against a much larger mistake.
The combination of address verification + test transaction eliminates a huge amount of beginner risk.
Step 11: Move the Full Balance
Once the test transfer lands correctly, go back to the exchange and send the larger amount.
Again, verify:
- correct asset
- correct network
- correct address on the Ledger device
- any memo/tag fields if the chain requires them (not common for BTC/ETH main use cases, but relevant on some networks)
For most beginners, the first real cold-storage transfer is the moment self-custody stops being theoretical. You feel the difference immediately. The asset is not sitting on the exchange anymore. It’s sitting behind keys you control.
That can feel empowering. It can also feel slightly terrifying. That’s normal.
Where Beginners Usually Mess This Up
The mistakes are surprisingly consistent.
Mistake 1: Treating the recovery phrase casually
If you store the 24 words digitally in a lazy way, you’ve weakened the whole point of the wallet.
Mistake 2: Skipping the test transaction
This is usually caused by impatience and overconfidence. Neither helps.
Mistake 3: Verifying only on the computer screen
The device screen exists for a reason. Use it.
Mistake 4: Trying to learn ten chains at once
Start simple. BTC and ETH are enough. Complexity can come later.
Mistake 5: Panicking about every warning
Ledger setup is not conceptually hard. It’s just more deliberate than exchange custody. The process rewards patience, not genius.
One Mental Shift That Helps With Hardware Wallets
A lot of beginners get stuck because they think a hardware wallet is supposed to feel as easy as an exchange app.
It isn’t.
That’s not a bug. That’s part of the security model.
A hardware wallet forces you to slow down. It asks you to verify things twice. It asks you to write things down. It makes transfers feel slightly heavier. That friction is exactly what protects you from the kind of casual mistakes that are easy to make in fast, glossy apps.
Once you understand that, the whole experience makes more sense. You’re not trying to recreate exchange convenience. You’re trading a little convenience for a lot more control.
What About Ledger Recover and Other Controversies?
It’s worth naming this because some readers will have seen online debates about it.
Ledger introduced an optional recovery service called Ledger Recover in some regions. A lot of privacy-focused users hated the idea because it changed how they thought about the threat model around hardware wallets.
My take is simple: if you don’t like optional cloud-assisted recovery products, don’t enable them. The core value of the hardware wallet remains the same if you use the device in the traditional way — offline seed phrase, no cloud backup, no recovery-sharing service.
You do not need to opt into anything beyond the standard setup.
When a Hardware Wallet Is Actually Worth It
Not everybody needs one on day one.
If you have $100 of Bitcoin on Coinbase and you’re still learning what an address even is, exchange custody is fine while you learn. The operational mistake risk may be higher than the custody benefit at that level.
If you have enough crypto that losing exchange access would seriously hurt, or if you’re holding long term and don’t need daily trading access, a Ledger starts making a lot more sense.
The crossover point is personal. Mine is lower than it used to be after seeing enough exchange failures and custody scares over the years.
After Setup: What I Would Do Next
Once the wallet is configured and the first transfer lands, I’d do three more things.
First, practice recovery mentally.
Not by typing your seed phrase somewhere — just by understanding what would happen if the device broke tomorrow. You would buy another compatible device, restore with the 24 words, and regain access. If that thought process feels fuzzy, review it now, not during a crisis.
Second, decide what stays on exchange and what moves off.
I don’t think every dollar needs to leave the exchange immediately. Trading balances and small working amounts can stay there. Long-term holdings are what self-custody is for.
Third, create a repeatable transfer routine.
If you plan to move assets off Coinbase or Kraken regularly, make the process boring and repeatable: copy the address from Ledger Live, verify on-device, send a test amount if using a new asset/network, then move the larger balance.
The more routine the process becomes, the less likely you are to improvise and make a mistake.
The Setup Checklist I Recommend
- buy the device from Ledger or an authorized reseller
- set up as new device
- create a strong PIN
- write down the 24-word recovery phrase offline
- confirm the phrase on the device
- install Ledger Live from the official source
- verify device authenticity
- install only the apps you need
- verify receive addresses on the device screen
- send a test transaction first
- then move the larger balance
That checklist handles most of the real-world risk.
FAQ
How long does Ledger setup take?
For a first-time user, about 20 to 40 minutes if you move slowly and verify everything. Most of that time is setup discipline, not technical difficulty.
What is the most important part of Ledger setup?
Protecting the 24-word recovery phrase. That phrase is the wallet. If someone gets it, they control the funds. If you lose it and the device fails, you may lose access permanently.
Should I move all my crypto at once to a Ledger?
No. Send a small test transaction first, confirm it lands correctly, then move the larger amount. The extra step is worth it.
Do I need Ledger Live to use a Ledger device?
For the standard setup flow, yes. Ledger Live handles authenticity checks, firmware updates, app installation, and account management for supported assets.
Is Ledger better than leaving crypto on Coinbase?
For long-term self-custody, yes — because it removes exchange counterparty risk. For small beginner balances or active trading funds, Coinbase can still be a practical place to hold while you learn.
Disclosure: Some links in this article may be affiliate links. I only recommend hardware wallets for people who are ready to take self-custody seriously.